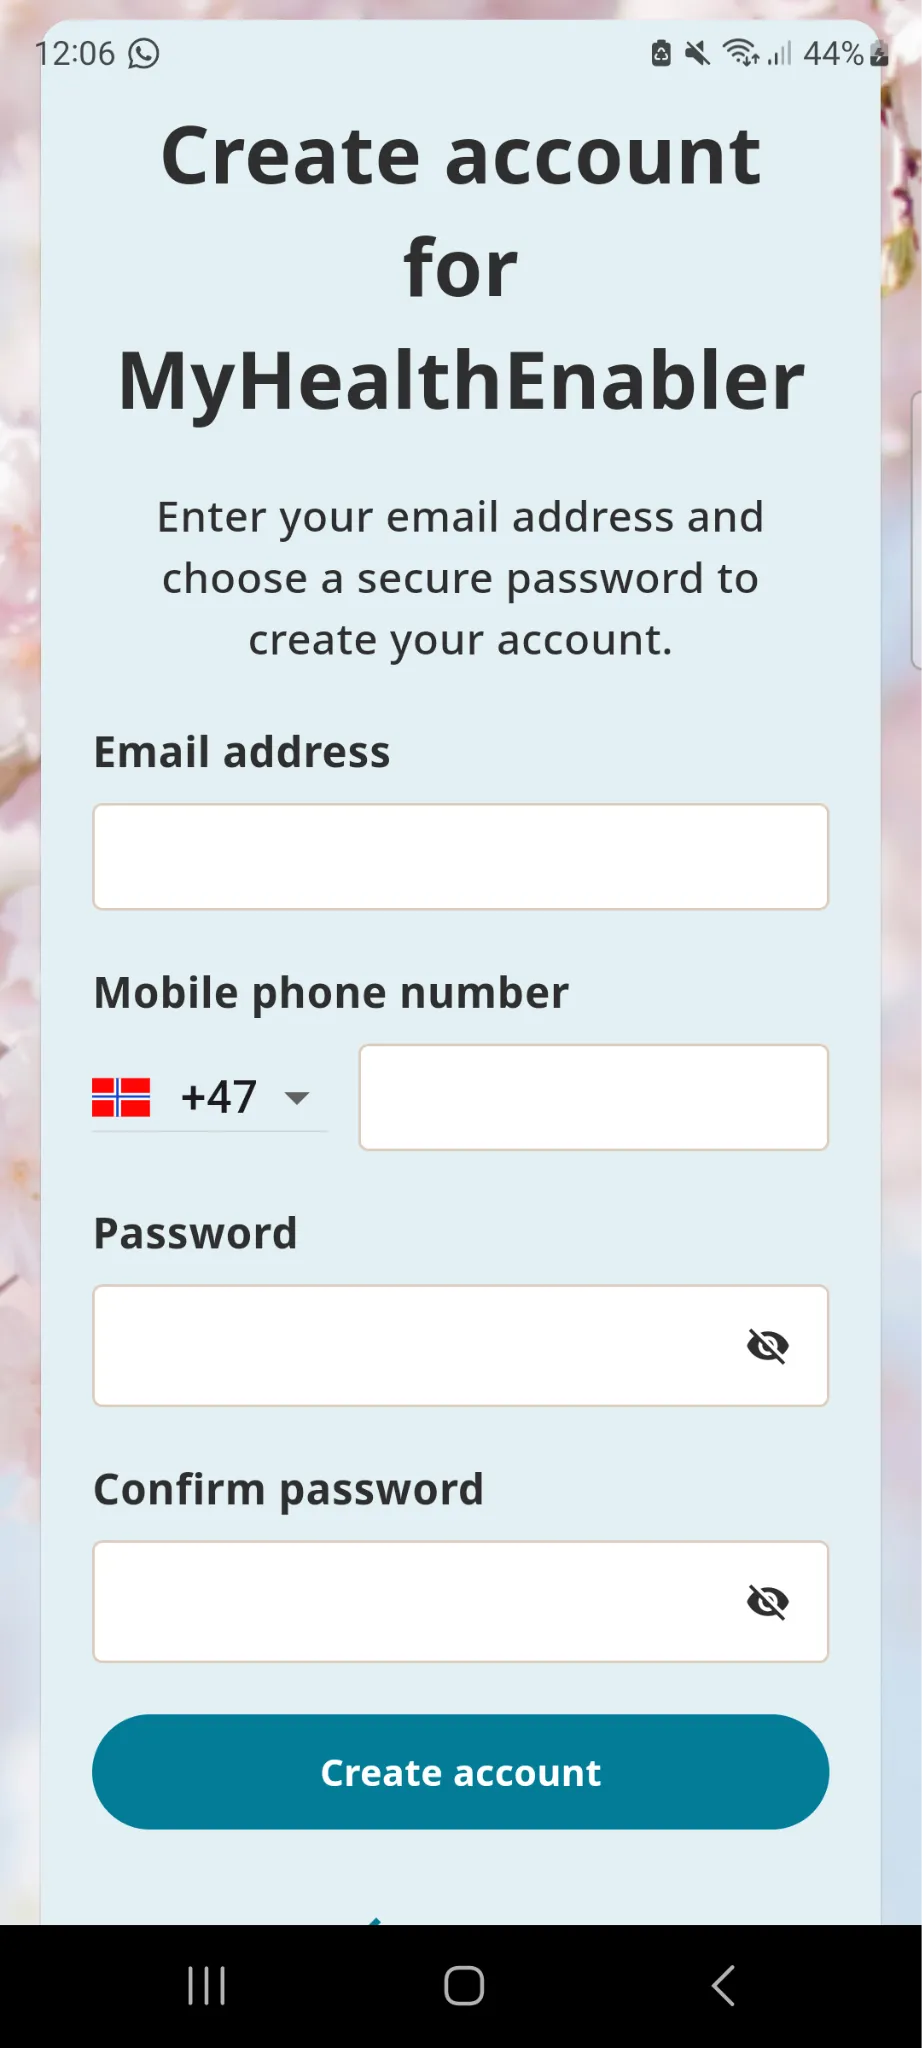
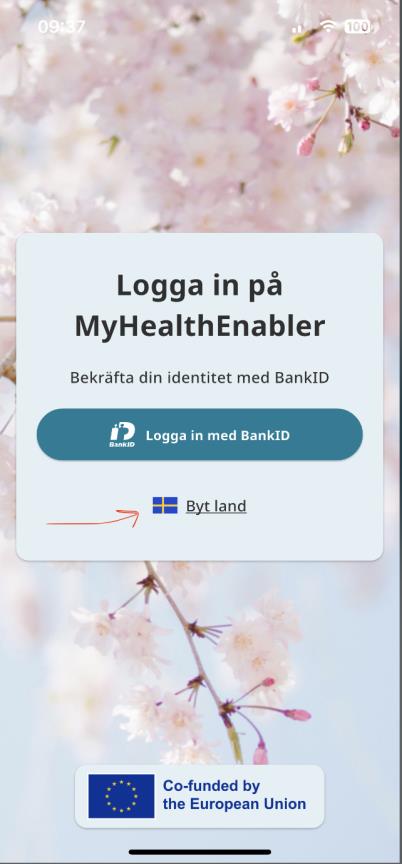
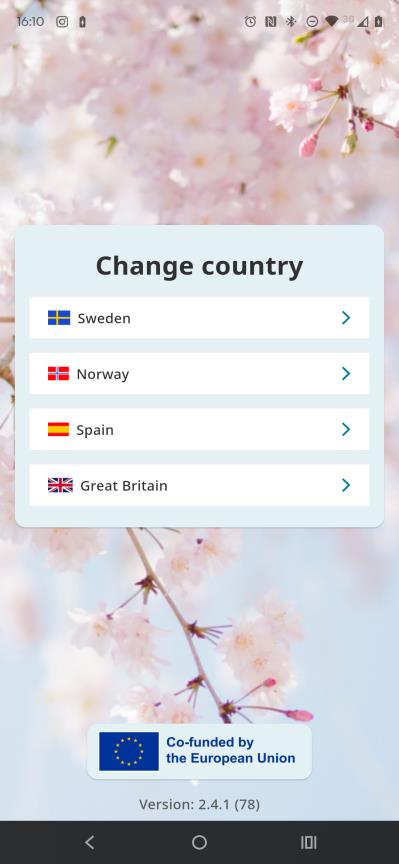
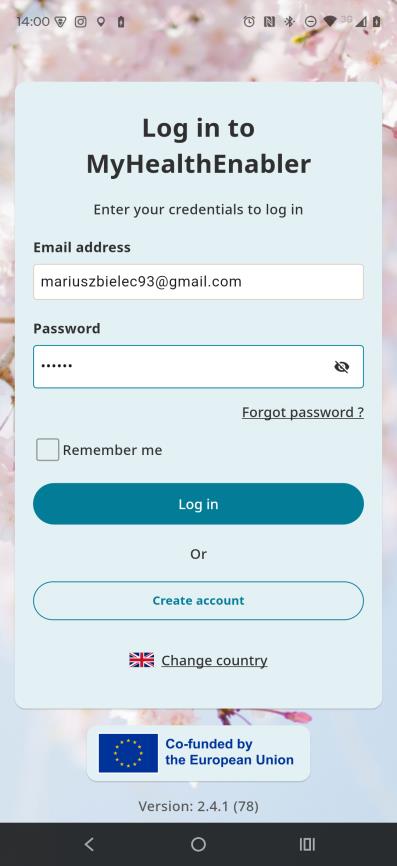
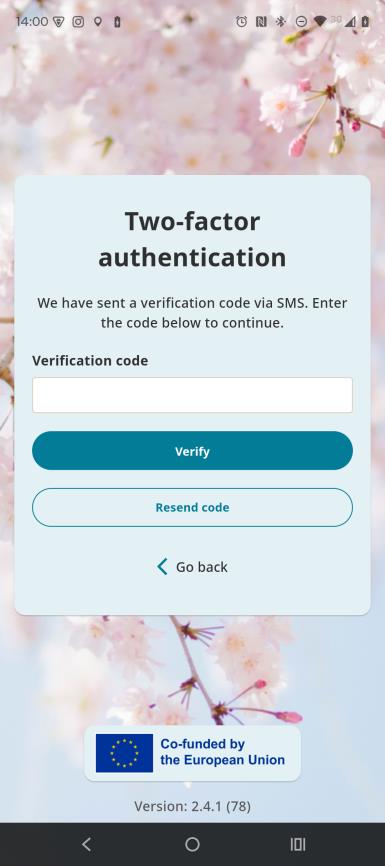
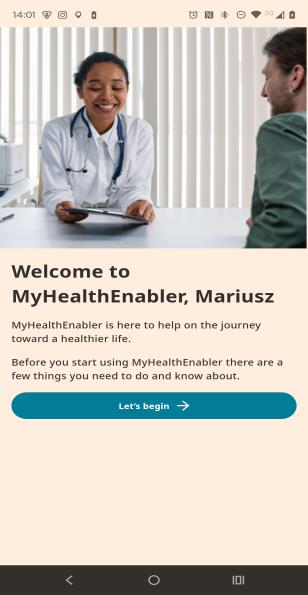
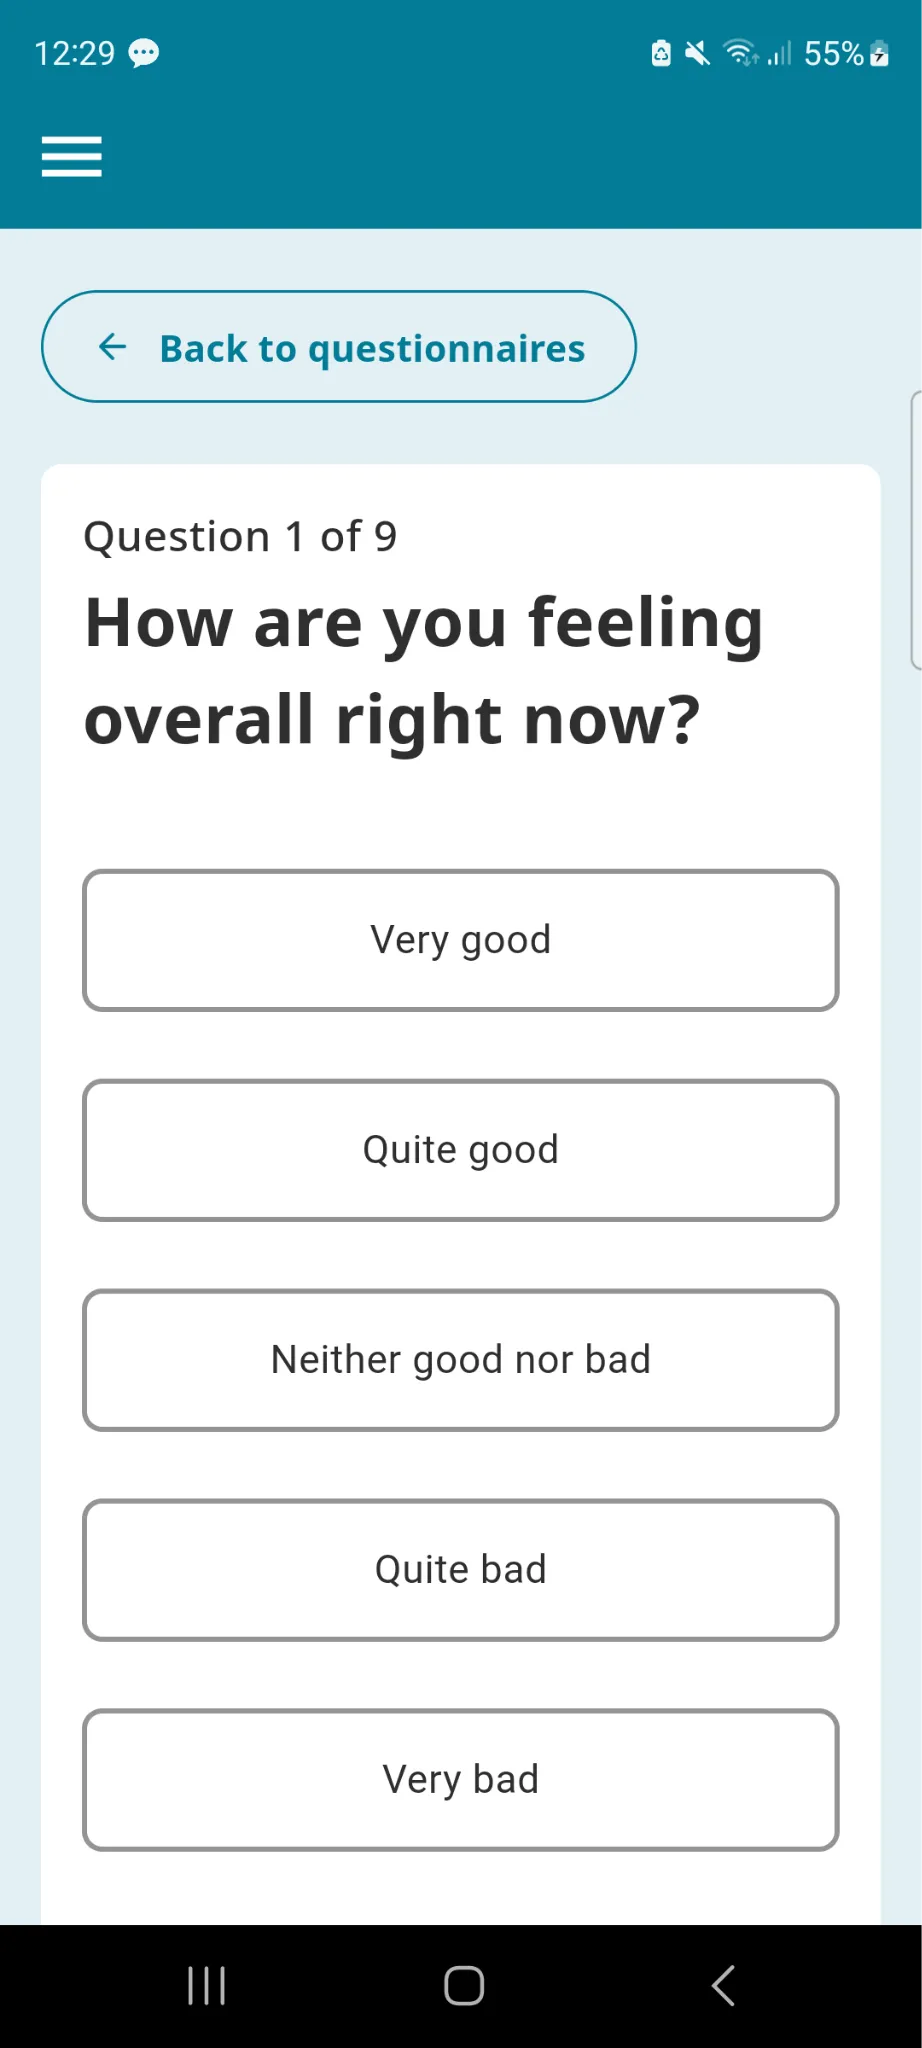
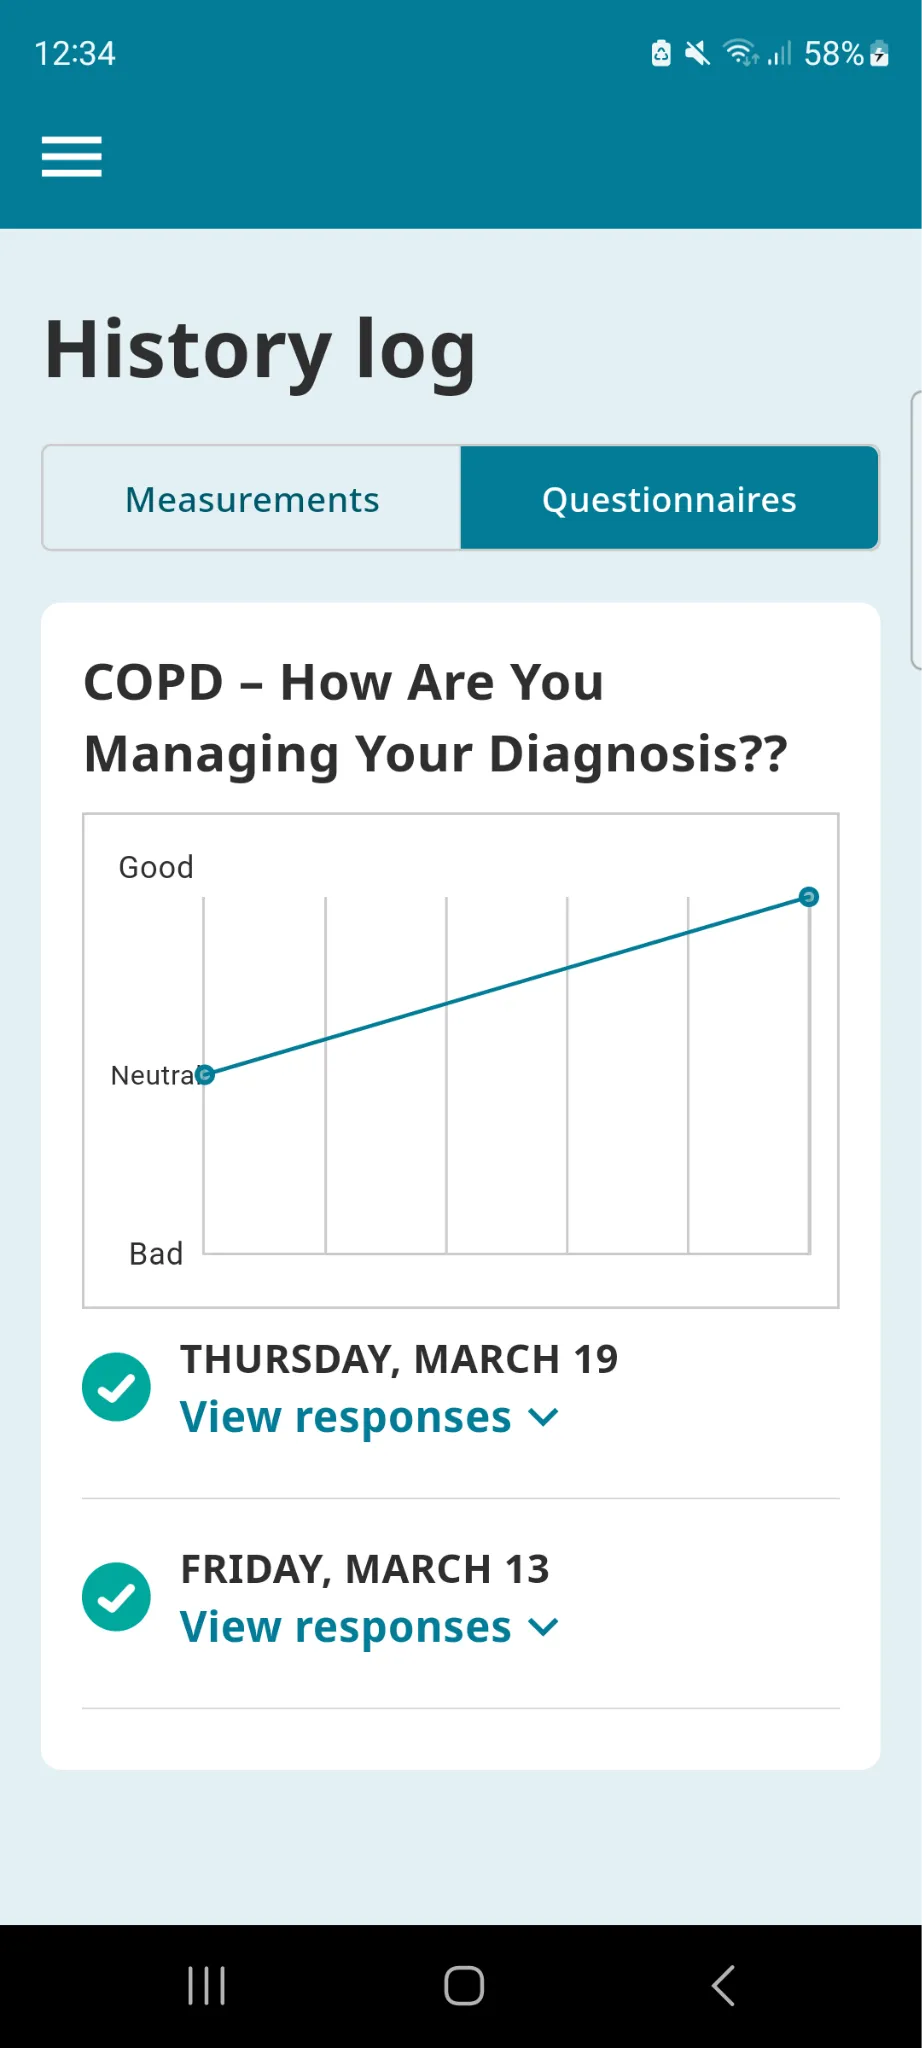
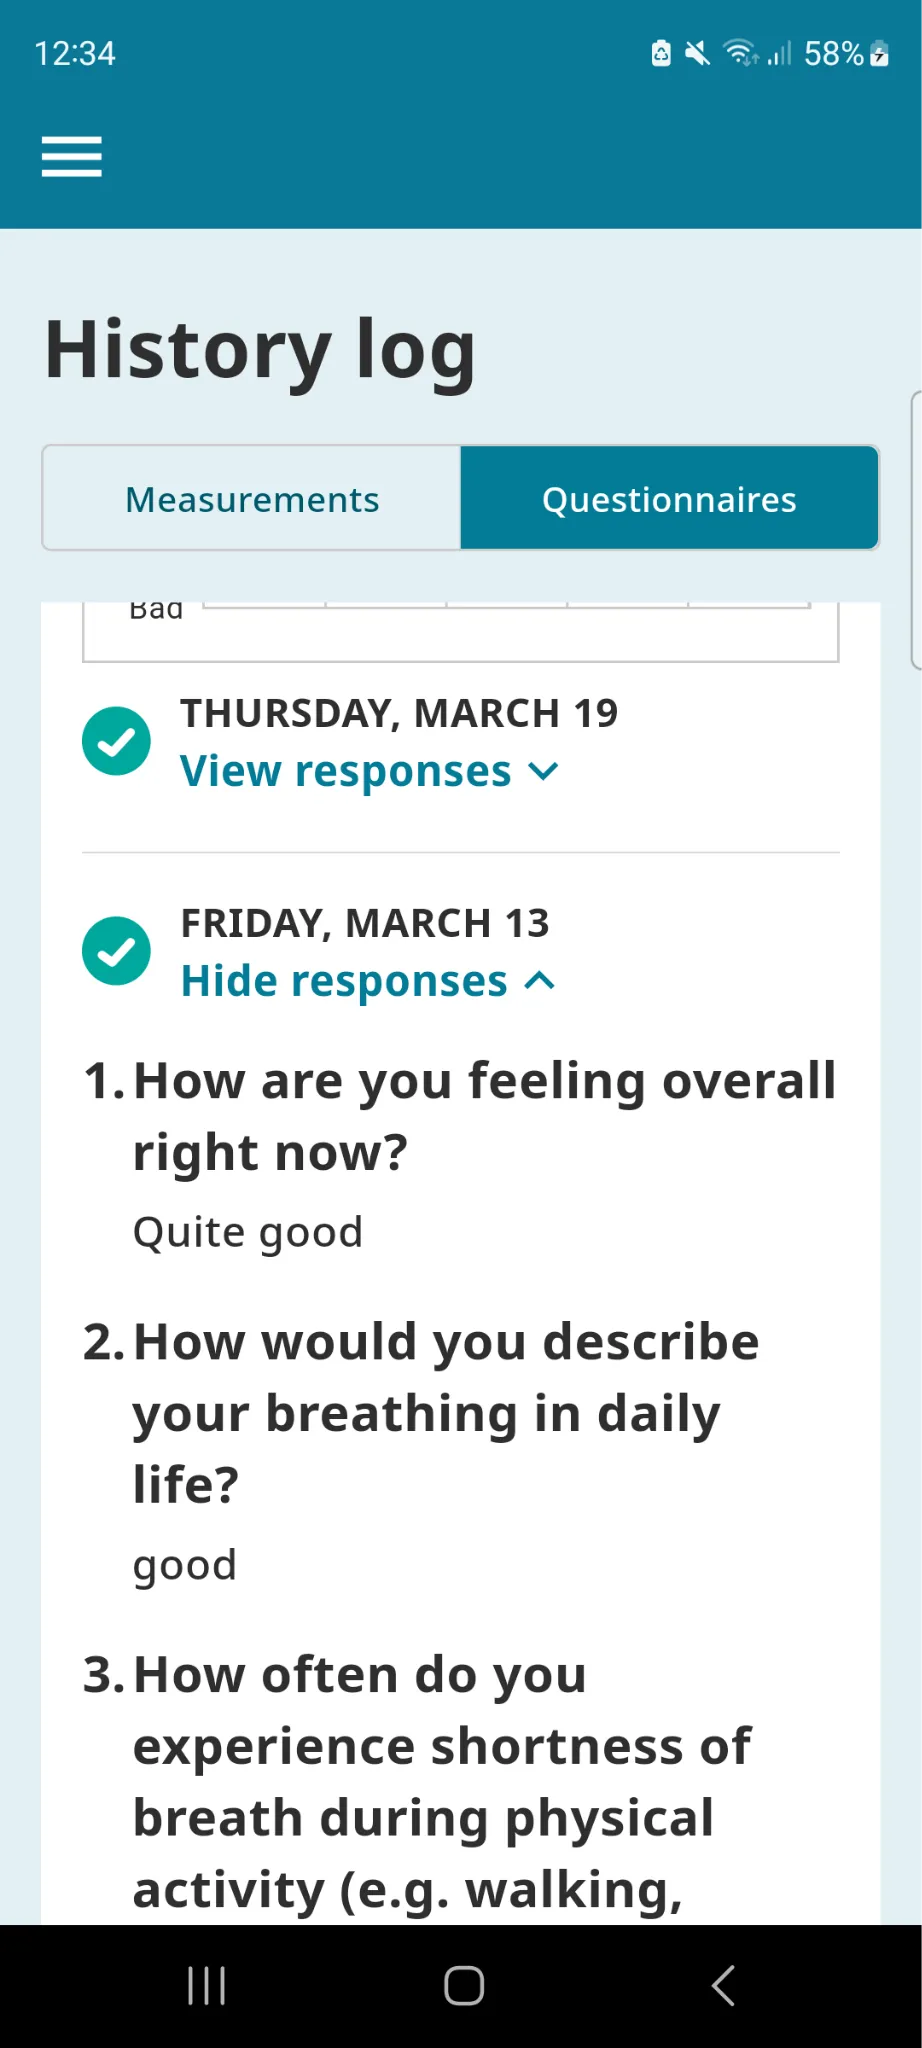
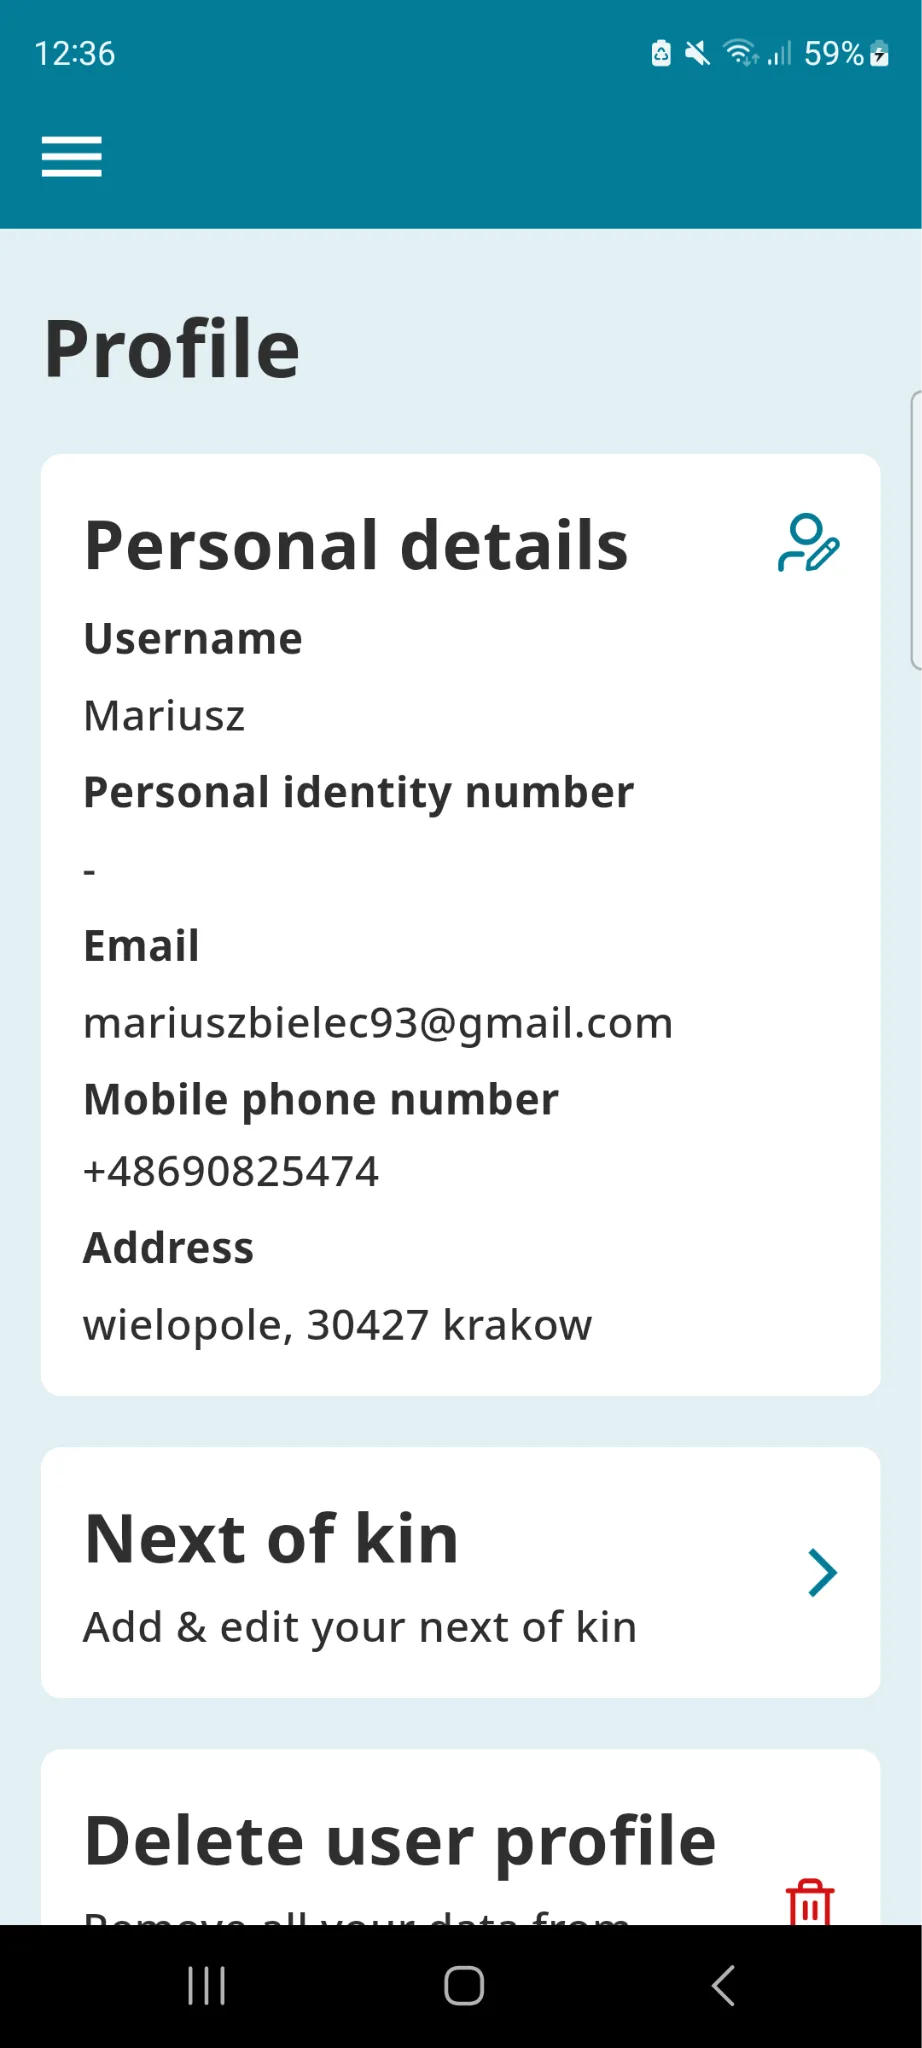
After downloading the MyHealthEnabler app, open it and follow these steps to create your account:
Choose your country from the list (Sweden, Norway, Spain, or Great Britain)
For Norway, Spain, or Great Britain: select a user name and password, then log in with two-factor authentication (2FA) using SMS
For Sweden: use BankID to create your account and log in securely
Once registered, you now have a MyHealthEnabler user account
2. Onboarding
When you log in for the first time, you will go through a 4-step onboarding process:
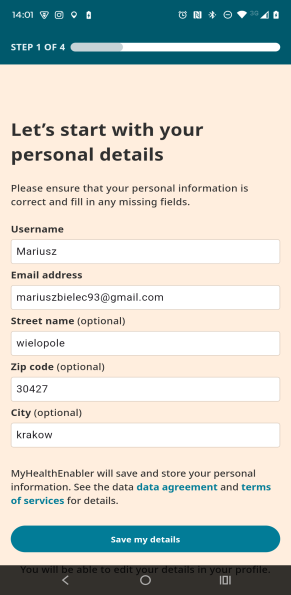
Step 1: Personal Details
Enter your personal information such as username, email address, street name, zip code, and city. Make sure the details are correct as they will be used for your health profile.
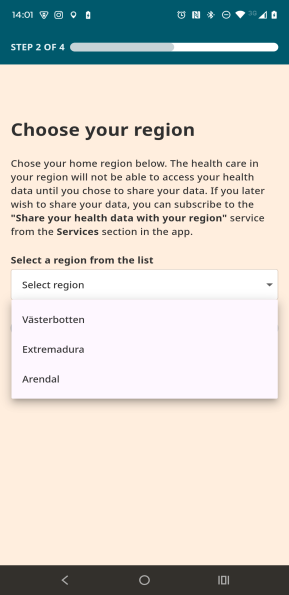
Step 2: Choose Your Region
Select your home region from the list. Your healthcare provider in your region will not be able to access your health data until you choose to share it. You can subscribe to share your data with your region from the Services section later.
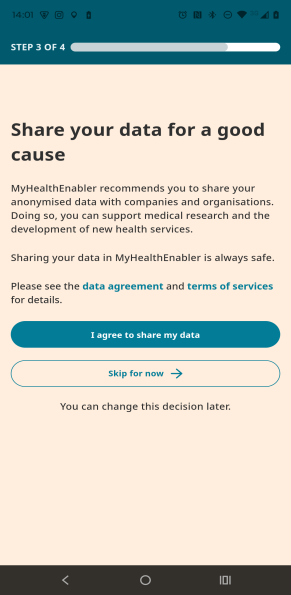
Step 3: Share Your Data for a Good Cause
You can choose to share your health data anonymously for research purposes, supporting the development of new and more efficient medicine. Sharing is always safe and optional. Review the data agreement and terms of services for details.
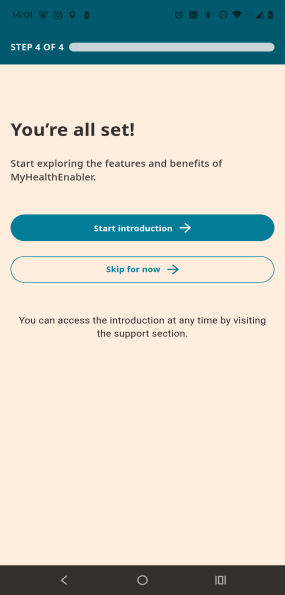
Step 4: Get Started
Choose to start an introduction to explore the features and benefits of MyHealthEnabler, or skip and start using the app directly. You can access the introduction at any time from the Support section.
3. Subscribe to a Health Service
MyHealthEnabler offers several health services you can subscribe to. Each service is tailored for a specific condition and enables you to track relevant health data.
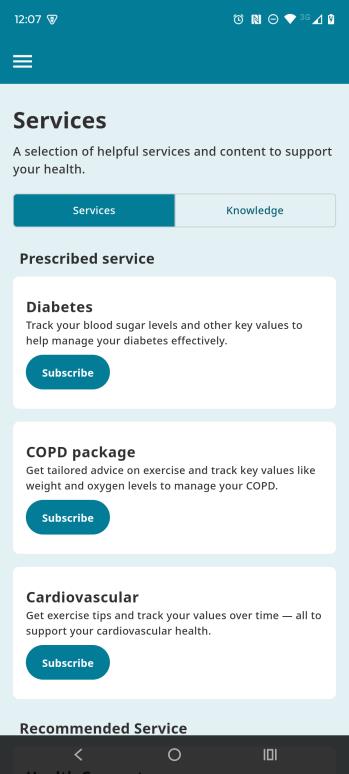
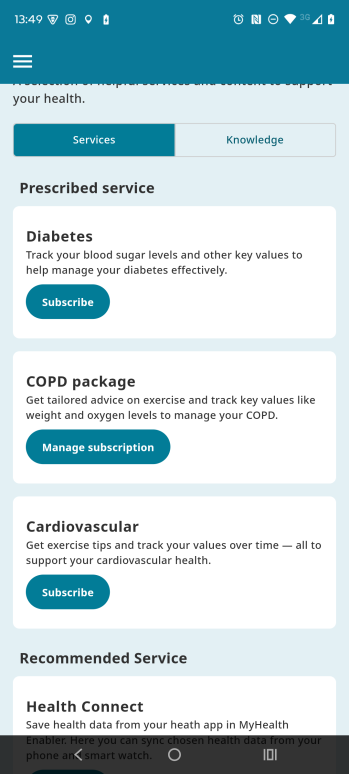
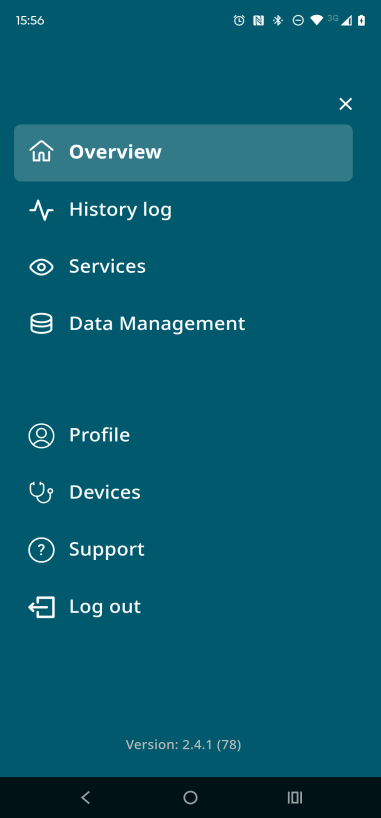
Choose Services from the menu
Browse the available prescribed services: Diabetes, COPD package, Cardiovascular, and more
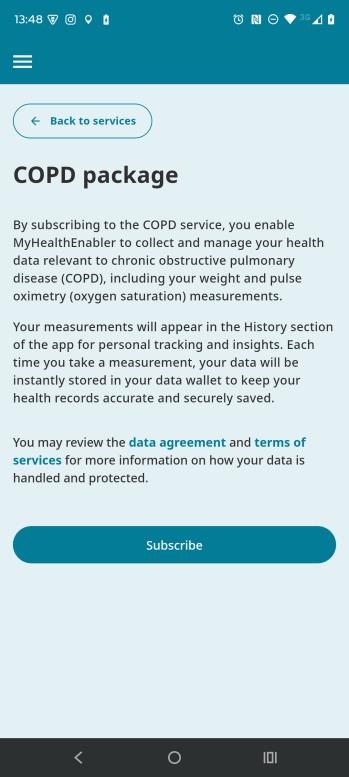
Press Subscribe on the service you wish to use
Read the data agreement carefully and press Subscribe to confirm
You can return to the service list and unsubscribe at any time
4. Share Health Data with Your Region
You can share your health data with the healthcare providers in your region so they can better support your care.
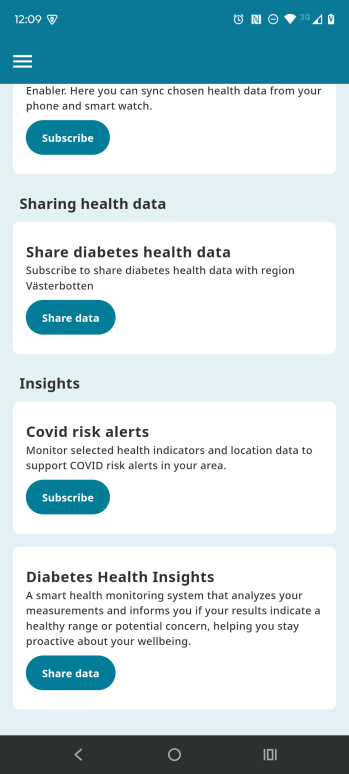
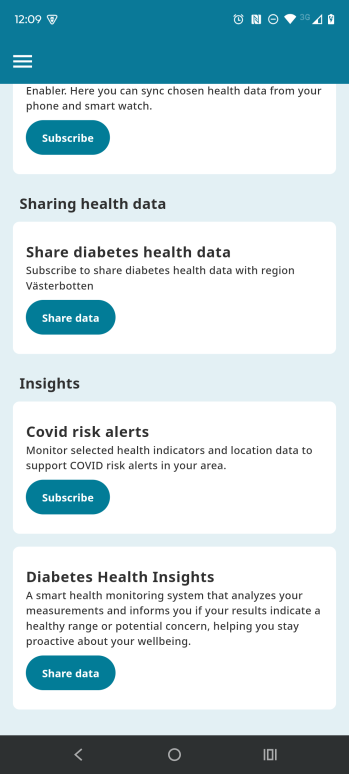
Choose Services from the menu and scroll down to the sharing services section
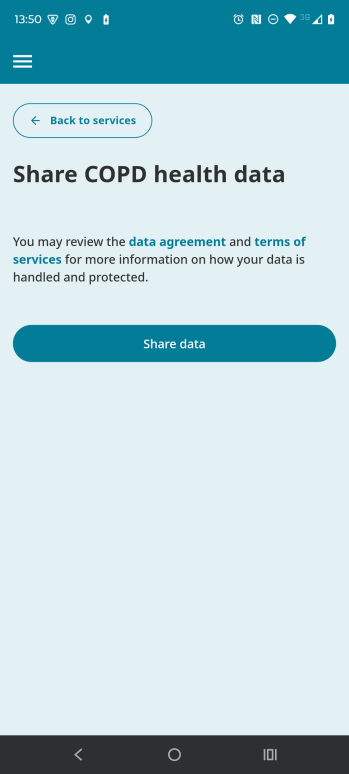
Press Share data on the sharing service you wish to subscribe to (e.g. Share COPD health data or Share diabetes health data with your region)
Read the data agreement and press Share data to confirm
You can return to the service list and unsubscribe from the sharing service at any time
5. Connect Devices & Start Measuring
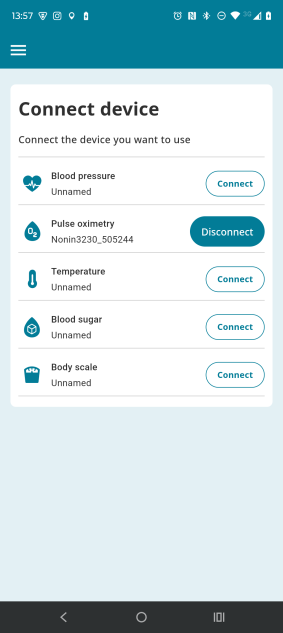
To take health measurements, you need to connect your medical devices to the app via Bluetooth. MyHealthEnabler supports the following devices:
Blood pressure monitor
Pulse oximeter
Temperature sensor
Blood sugar (glucose) meter
Body scale
How to Connect a Device
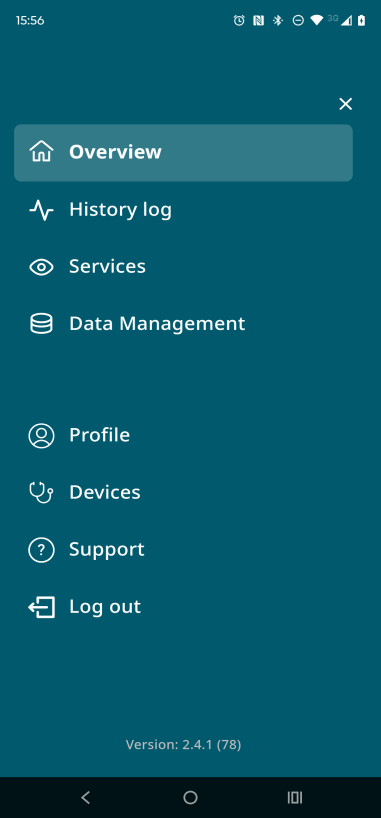
Open the menu and choose Devices
Press Connect on the device type you want to connect
Make sure Bluetooth is activated on both your mobile phone and the medical device
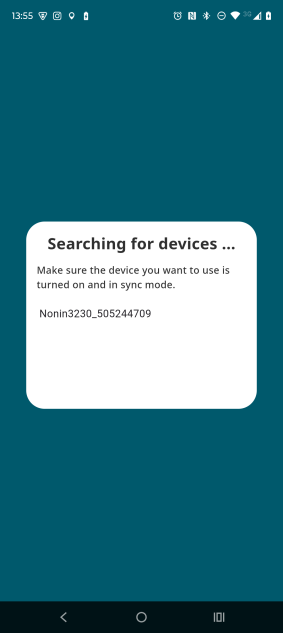
The app will search for nearby devices - select your device from the list
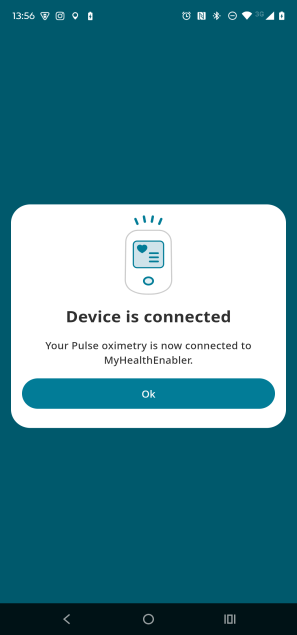
Once connected, you will see a confirmation message
6. Take Measurements
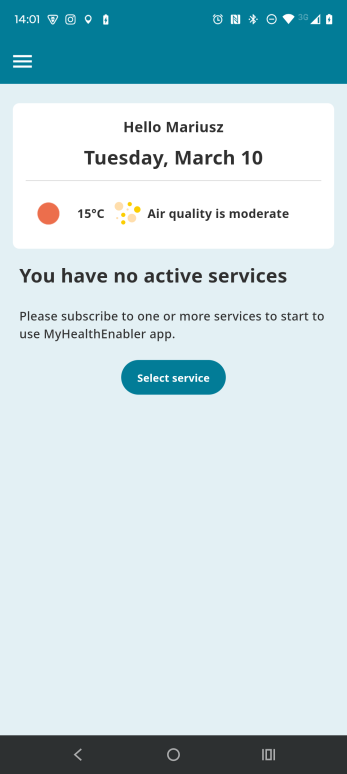
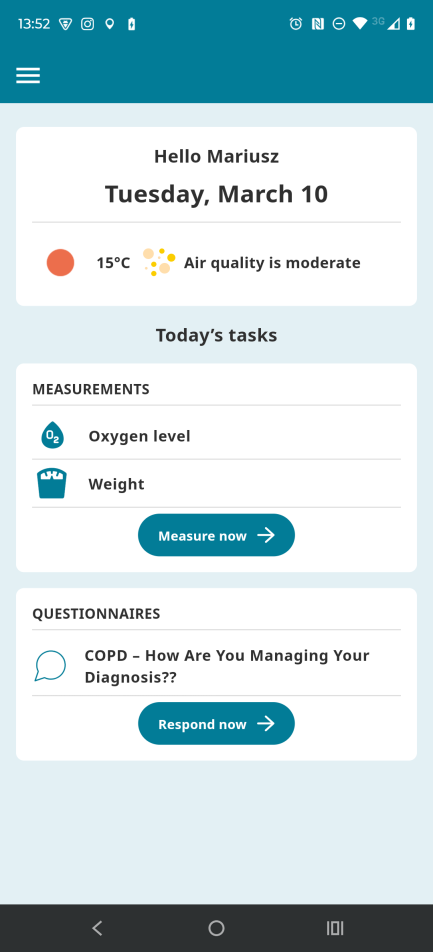
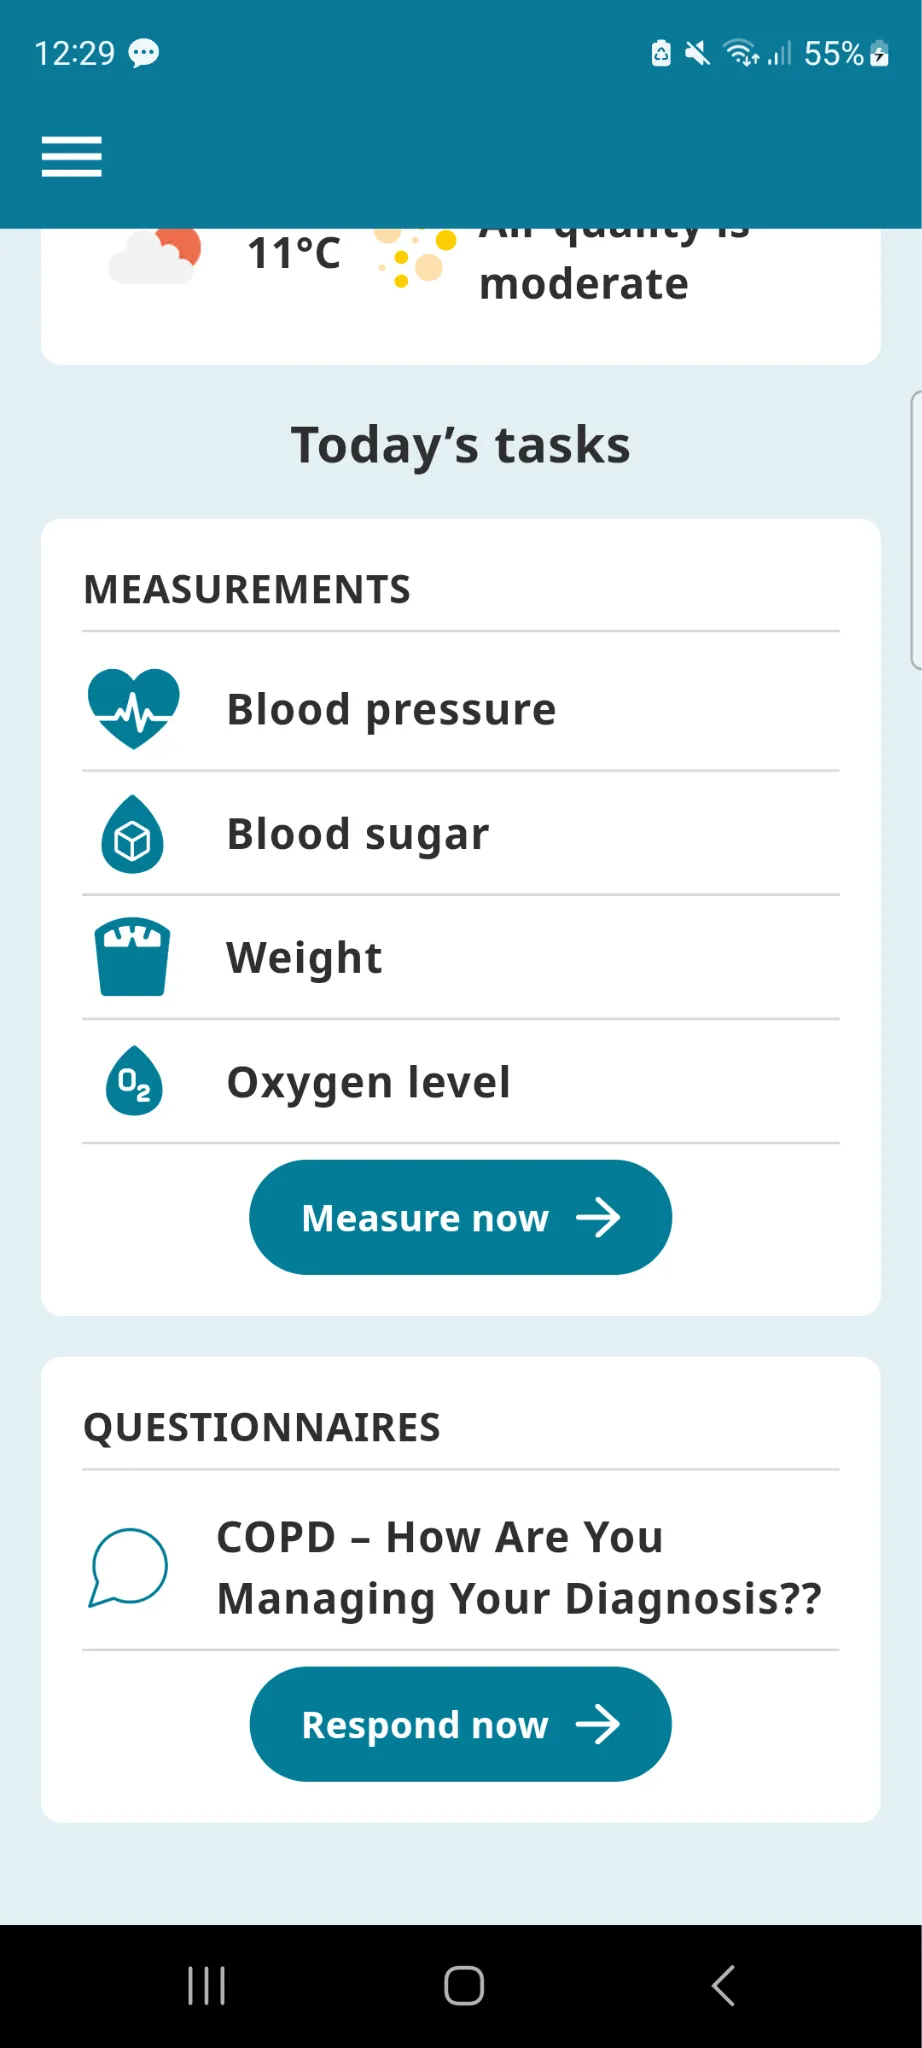
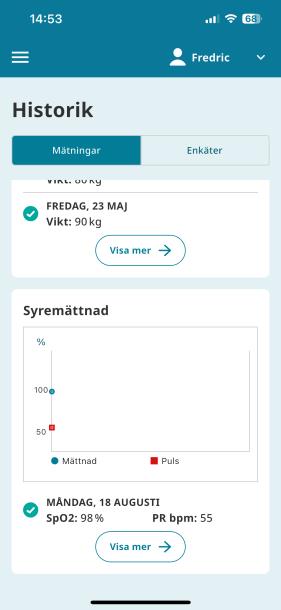
Once you have subscribed to a health service (such as COPD, Diabetes, or Cardiovascular), the related measurements will appear on your Overview screen.
Your daily tasks will show which measurements need to be taken (e.g. Oxygen level, Weight)
Press "Measure now" to begin the measurement flow
Before you start, the app will show you what devices you need and whether they are connected
Follow the step-by-step flow to complete each measurement
Save your measurements to complete the flow
Device Instruction Videos
Watch these video guides to learn how to properly use each medical device with the MyHealthEnabler app:
Blood Pressure Monitor
Pulse Oximeter
Blood Sugar (Glucose) Meter
7. Questionnaires
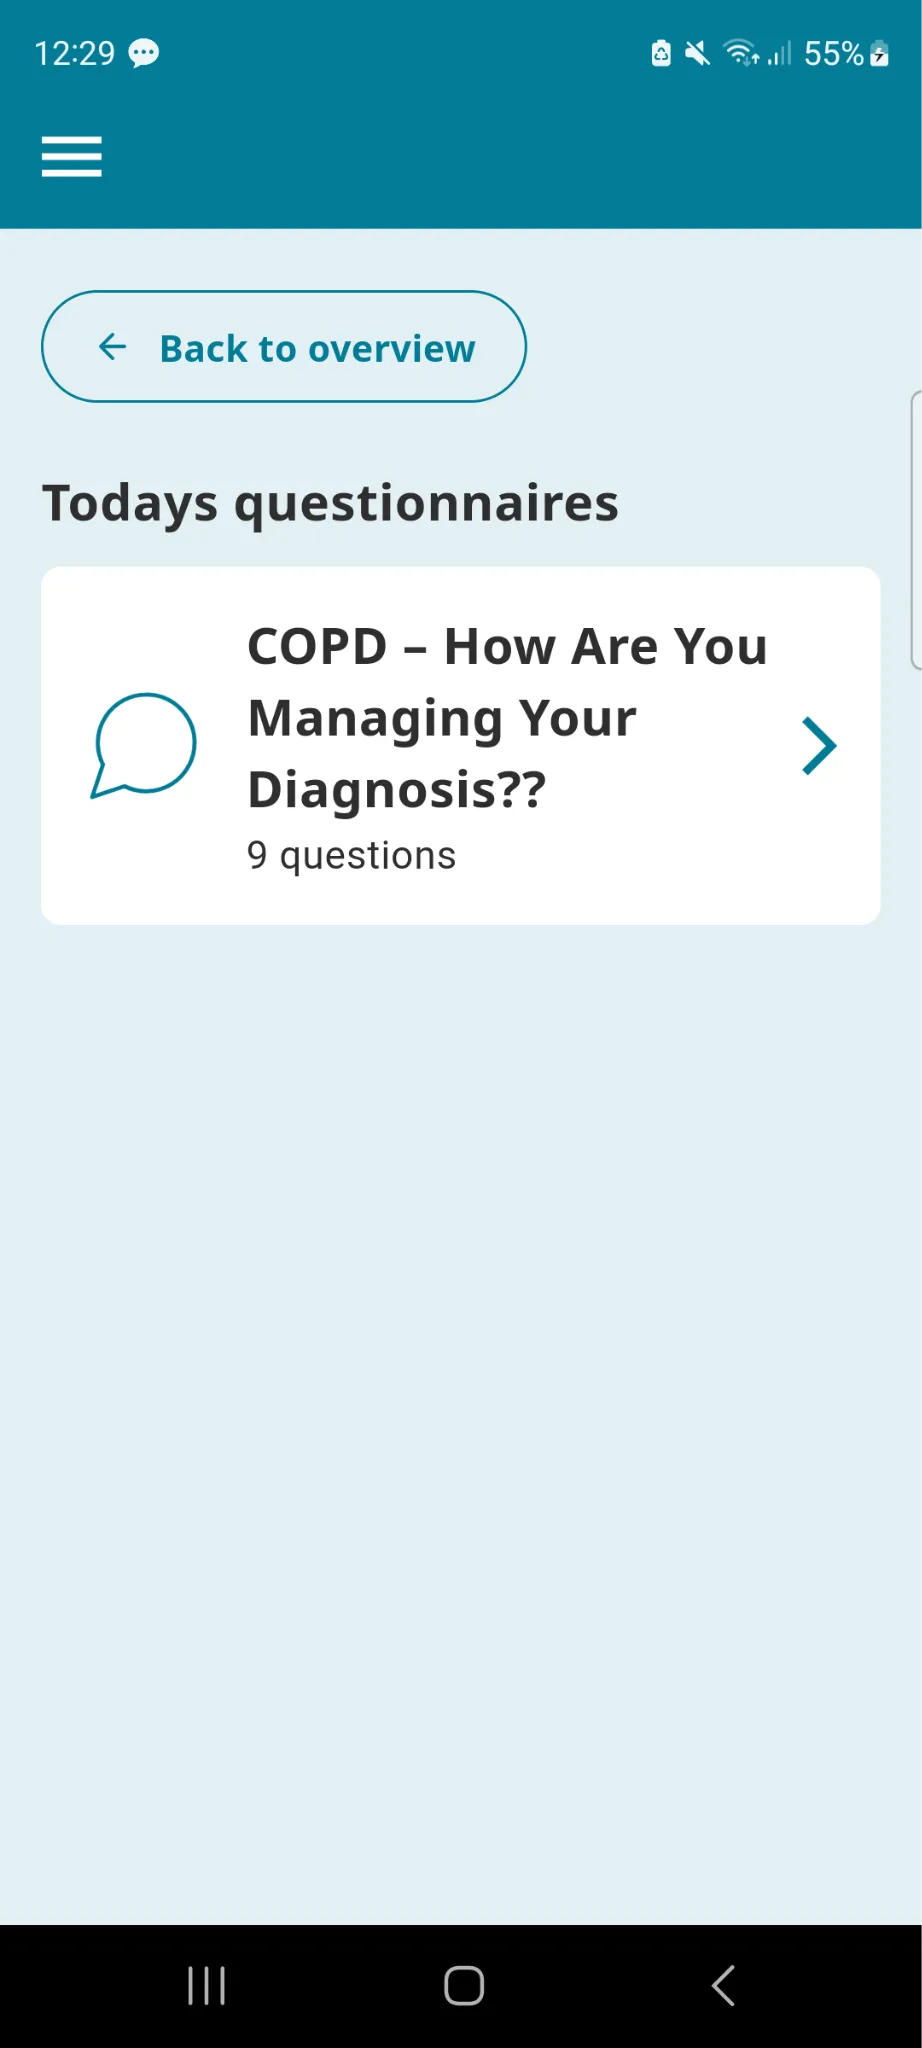
When you subscribe to a health service, related health questionnaires will be displayed on your Overview screen alongside your measurements.
Press "Respond now" on the Overview screen to see available questionnaires
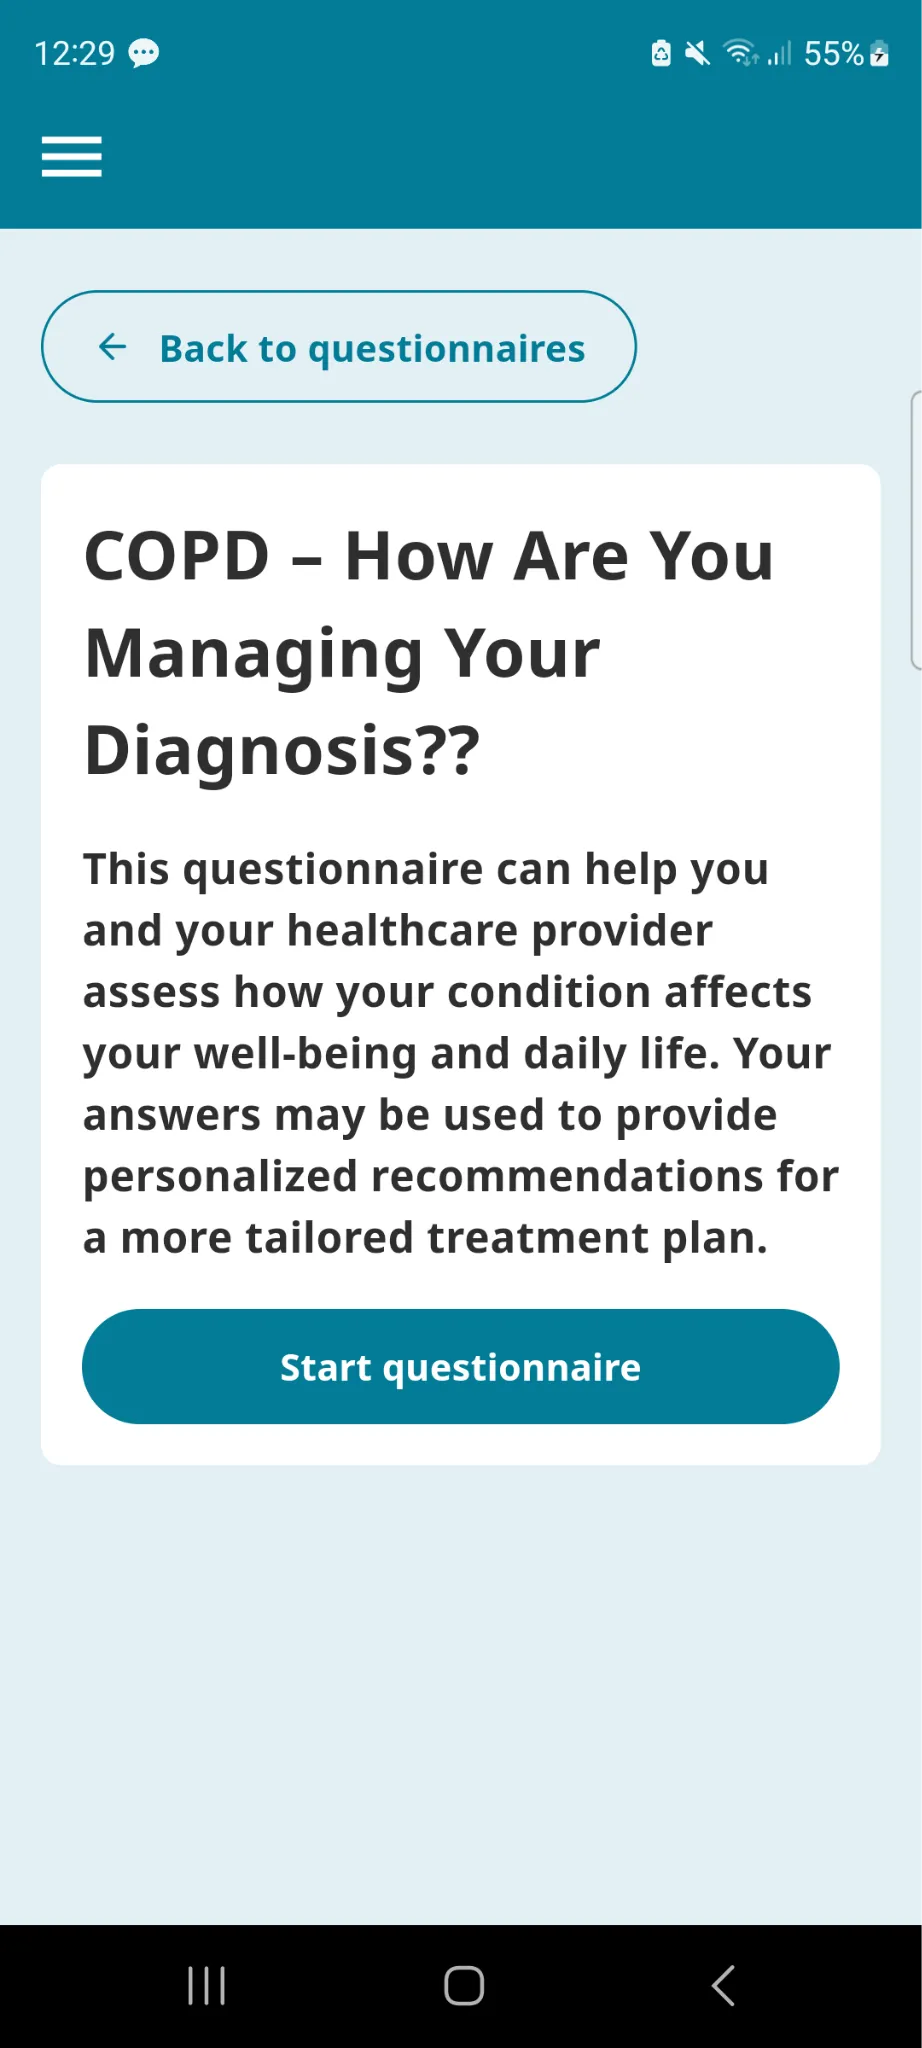
Select the questionnaire you want to respond to
Answer the questions and save your responses when done
Your answers are then visible in the History section under the Surveys tab
8. Share Health Data with Your Next of Kin
You can invite a family member or trusted person as your next of kin, allowing them to view your health measurements and activity through the MyHealthEnabler app.
How to Invite Your Next of Kin
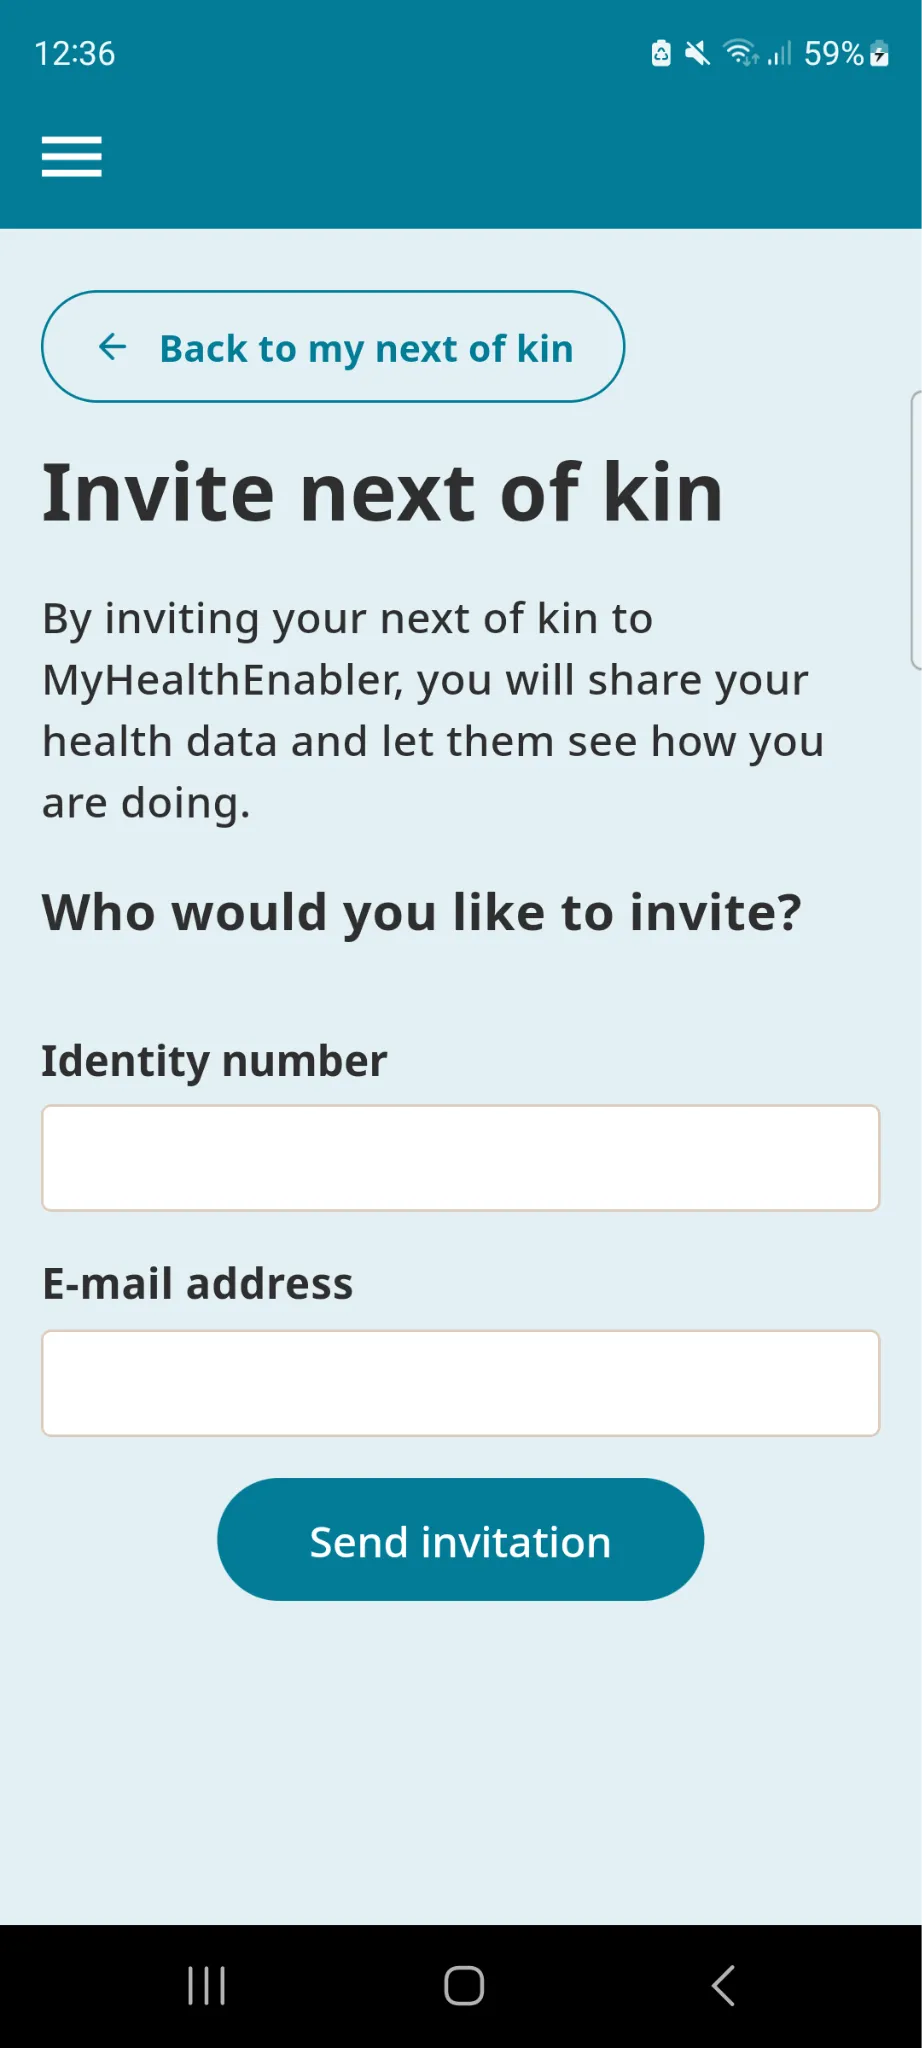
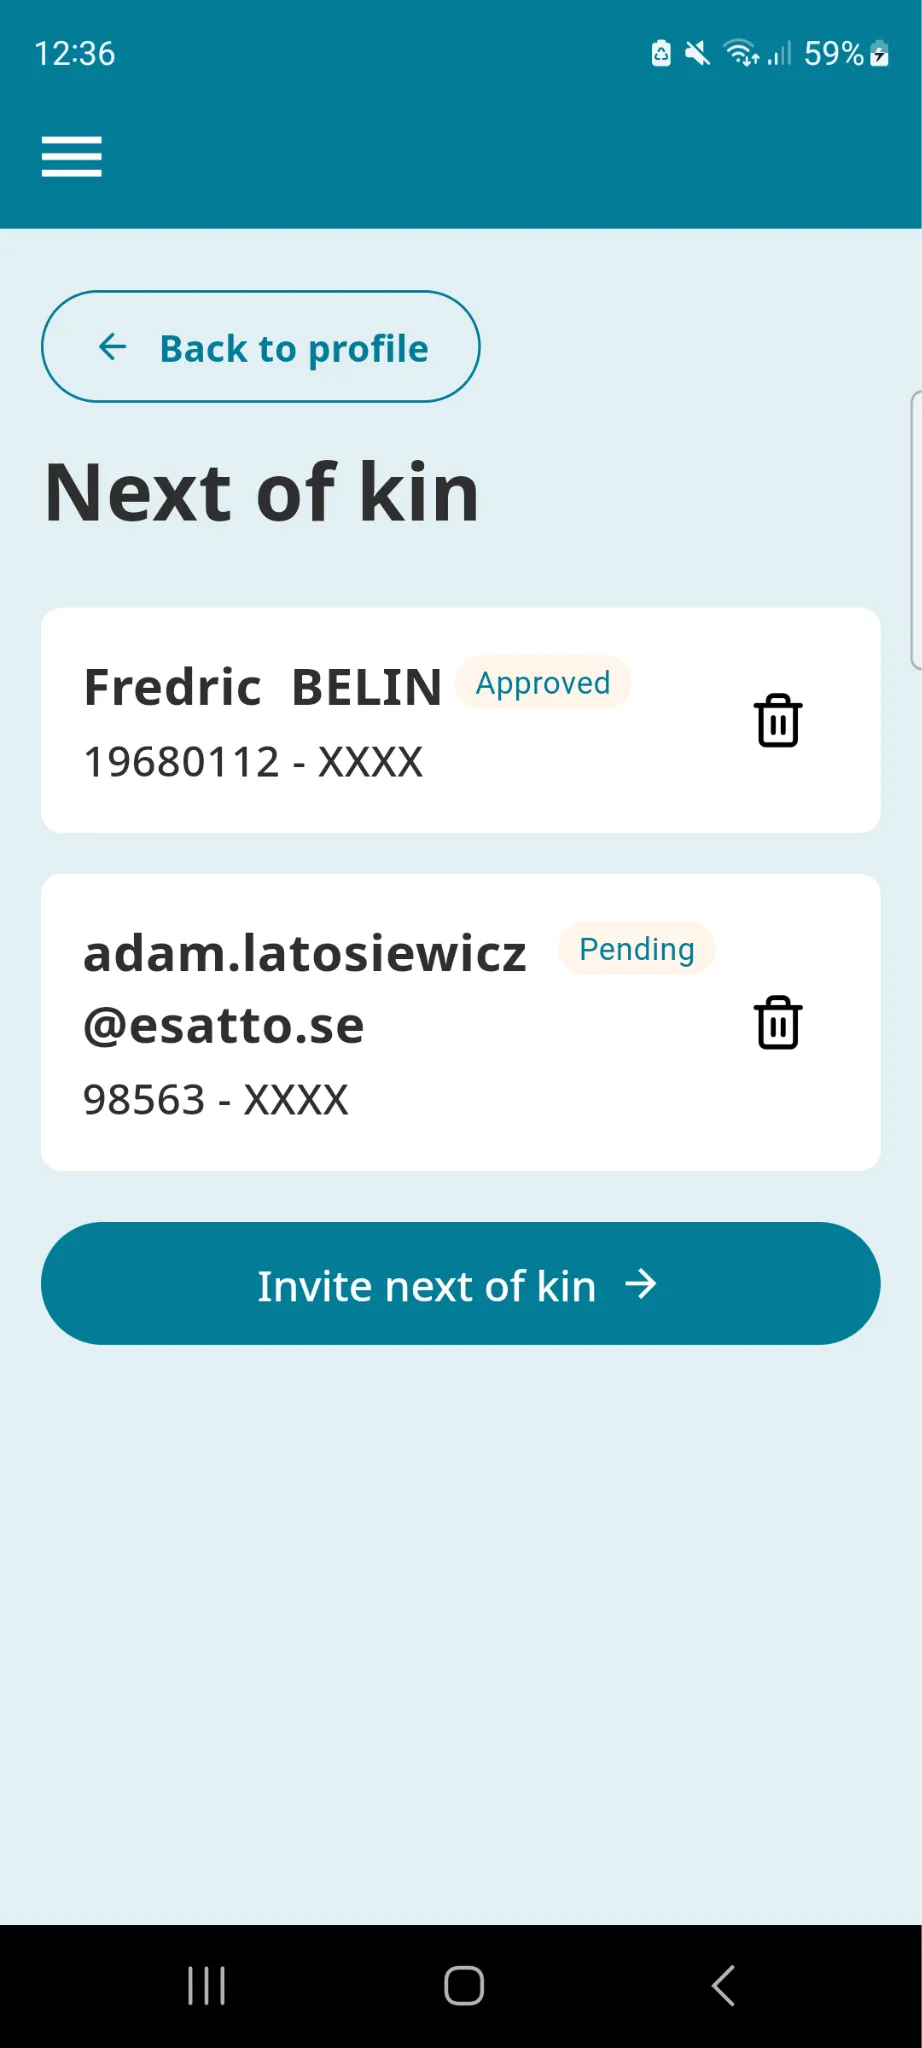
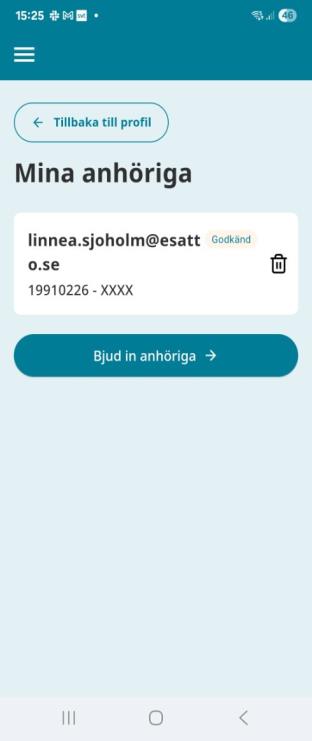
Go to Profile in the menu and choose Next of kin
Enter the identity number and email address of your next of kin
Press Send invitation - they will receive an email notification
You can remove your next of kin at any time from your profile
Next of Kin View
When you send the invitation, your next of kin will receive an email notifying them of the pending invitation. They can then:
Download the MyHealthEnabler app and create their own account
Log in and accept the invitation to become next of kin
Once accepted, they can view your measurements and questionnaire answers
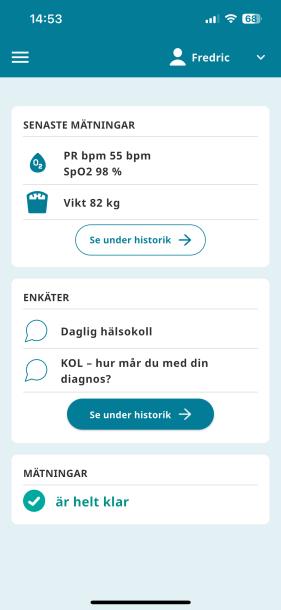
They can switch between their own profile and yours using the profile selector at the top of the app
9. Insight Services
Insight services provide intelligent analysis of your health data and send you personalised reports and recommendations.
Choose Services from the menu
Scroll to the Insights section and press Subscribe on the insight service you want (e.g. Diabetes Health Insights)
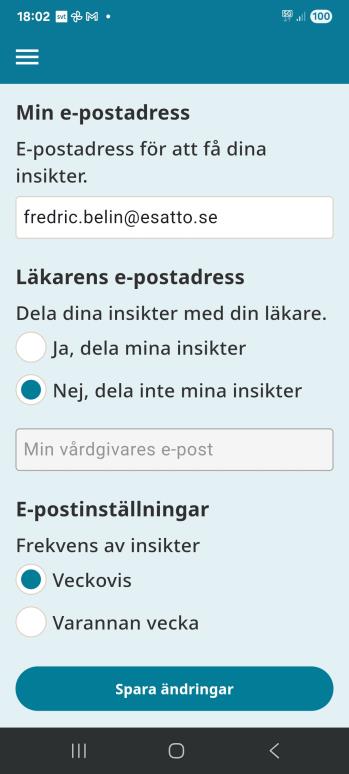
This service combines your blood sugar data with your activity data and sends you an email report weekly with your status and recommendations
Enter your email address and choose the report frequency
You can also choose to share the insight report with your doctor
You can unsubscribe from the insight service at any time
10. Support
If you need help, the Support section in the app provides everything you need:
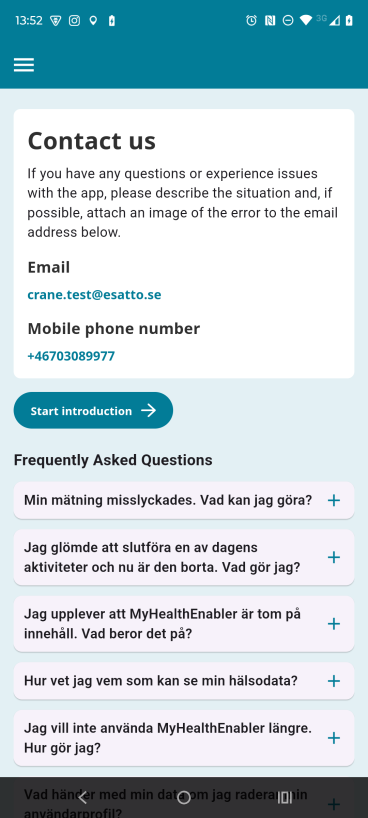
Contact information (email and phone number) to reach the support team
A multi-step introduction to the app that you can restart at any time
A list of Frequently Asked Questions (FAQ) with answers to common issues
To access Support, open the menu and tap on Support.
11. Data Governance & Privacy
MyHealthEnabler is part of the CRANE d-HDSI dataspace, which follows a strict governance framework to protect your personal health data. This section explains how the dataspace handles your data agreements, consent, digital identity, and privacy — giving you full control over what is shared and with whom.
Managing Your Data Agreements
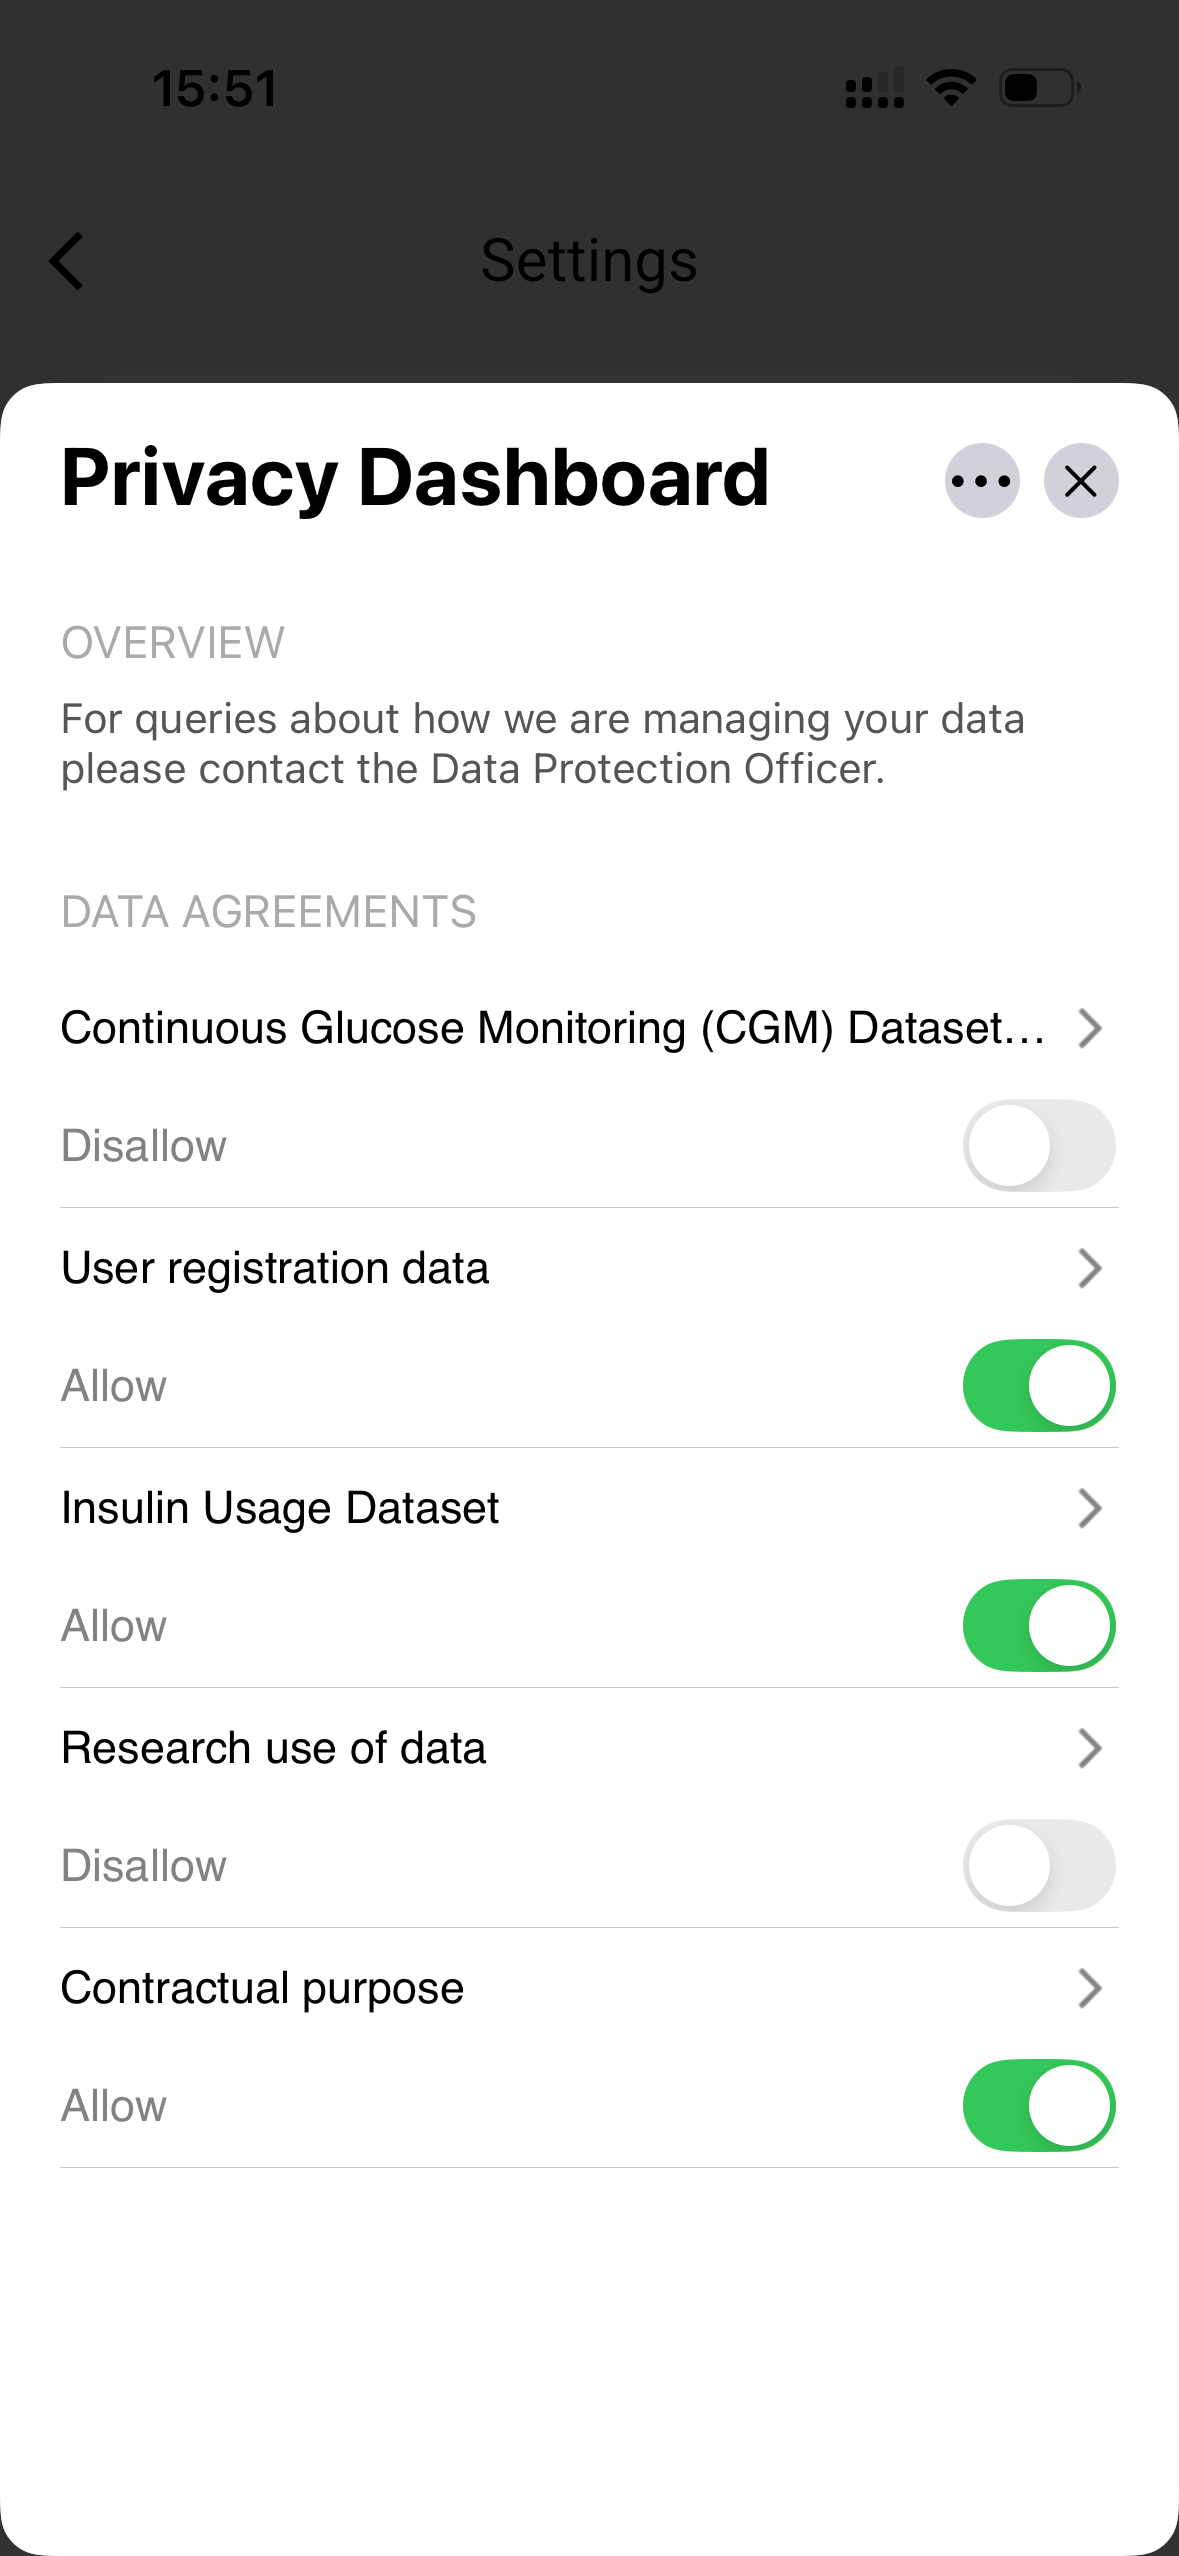
The Privacy Dashboard is available from within the MyHealthEnabler app settings. It shows you all the data agreements linked to your account.
Each agreement represents a specific type of data that an organisation collects or handles on your behalf. For example:
Continuous Glucose Monitoring (CGM) Dataset: Health readings from your glucose monitoring device
User Registration Data: Your basic account information
Insulin Usage Dataset: Records of your insulin dosage and usage
Research Use of Data: Information shared for approved medical research
Contractual Purpose: Data needed to provide you with healthcare services
Each agreement has a simple toggle switch: Allow (green) means the organisation can use that data, and Disallow (grey) means you have opted out. You can change your choice at any time by tapping the toggle. Tap on any agreement to see its full details, including why the data is being used, how long it is kept, and which organisation is responsible for it.
Privacy Dashboard in MyHealthEnabler: view and control all data agreements
Giving and Withdrawing Your Permission
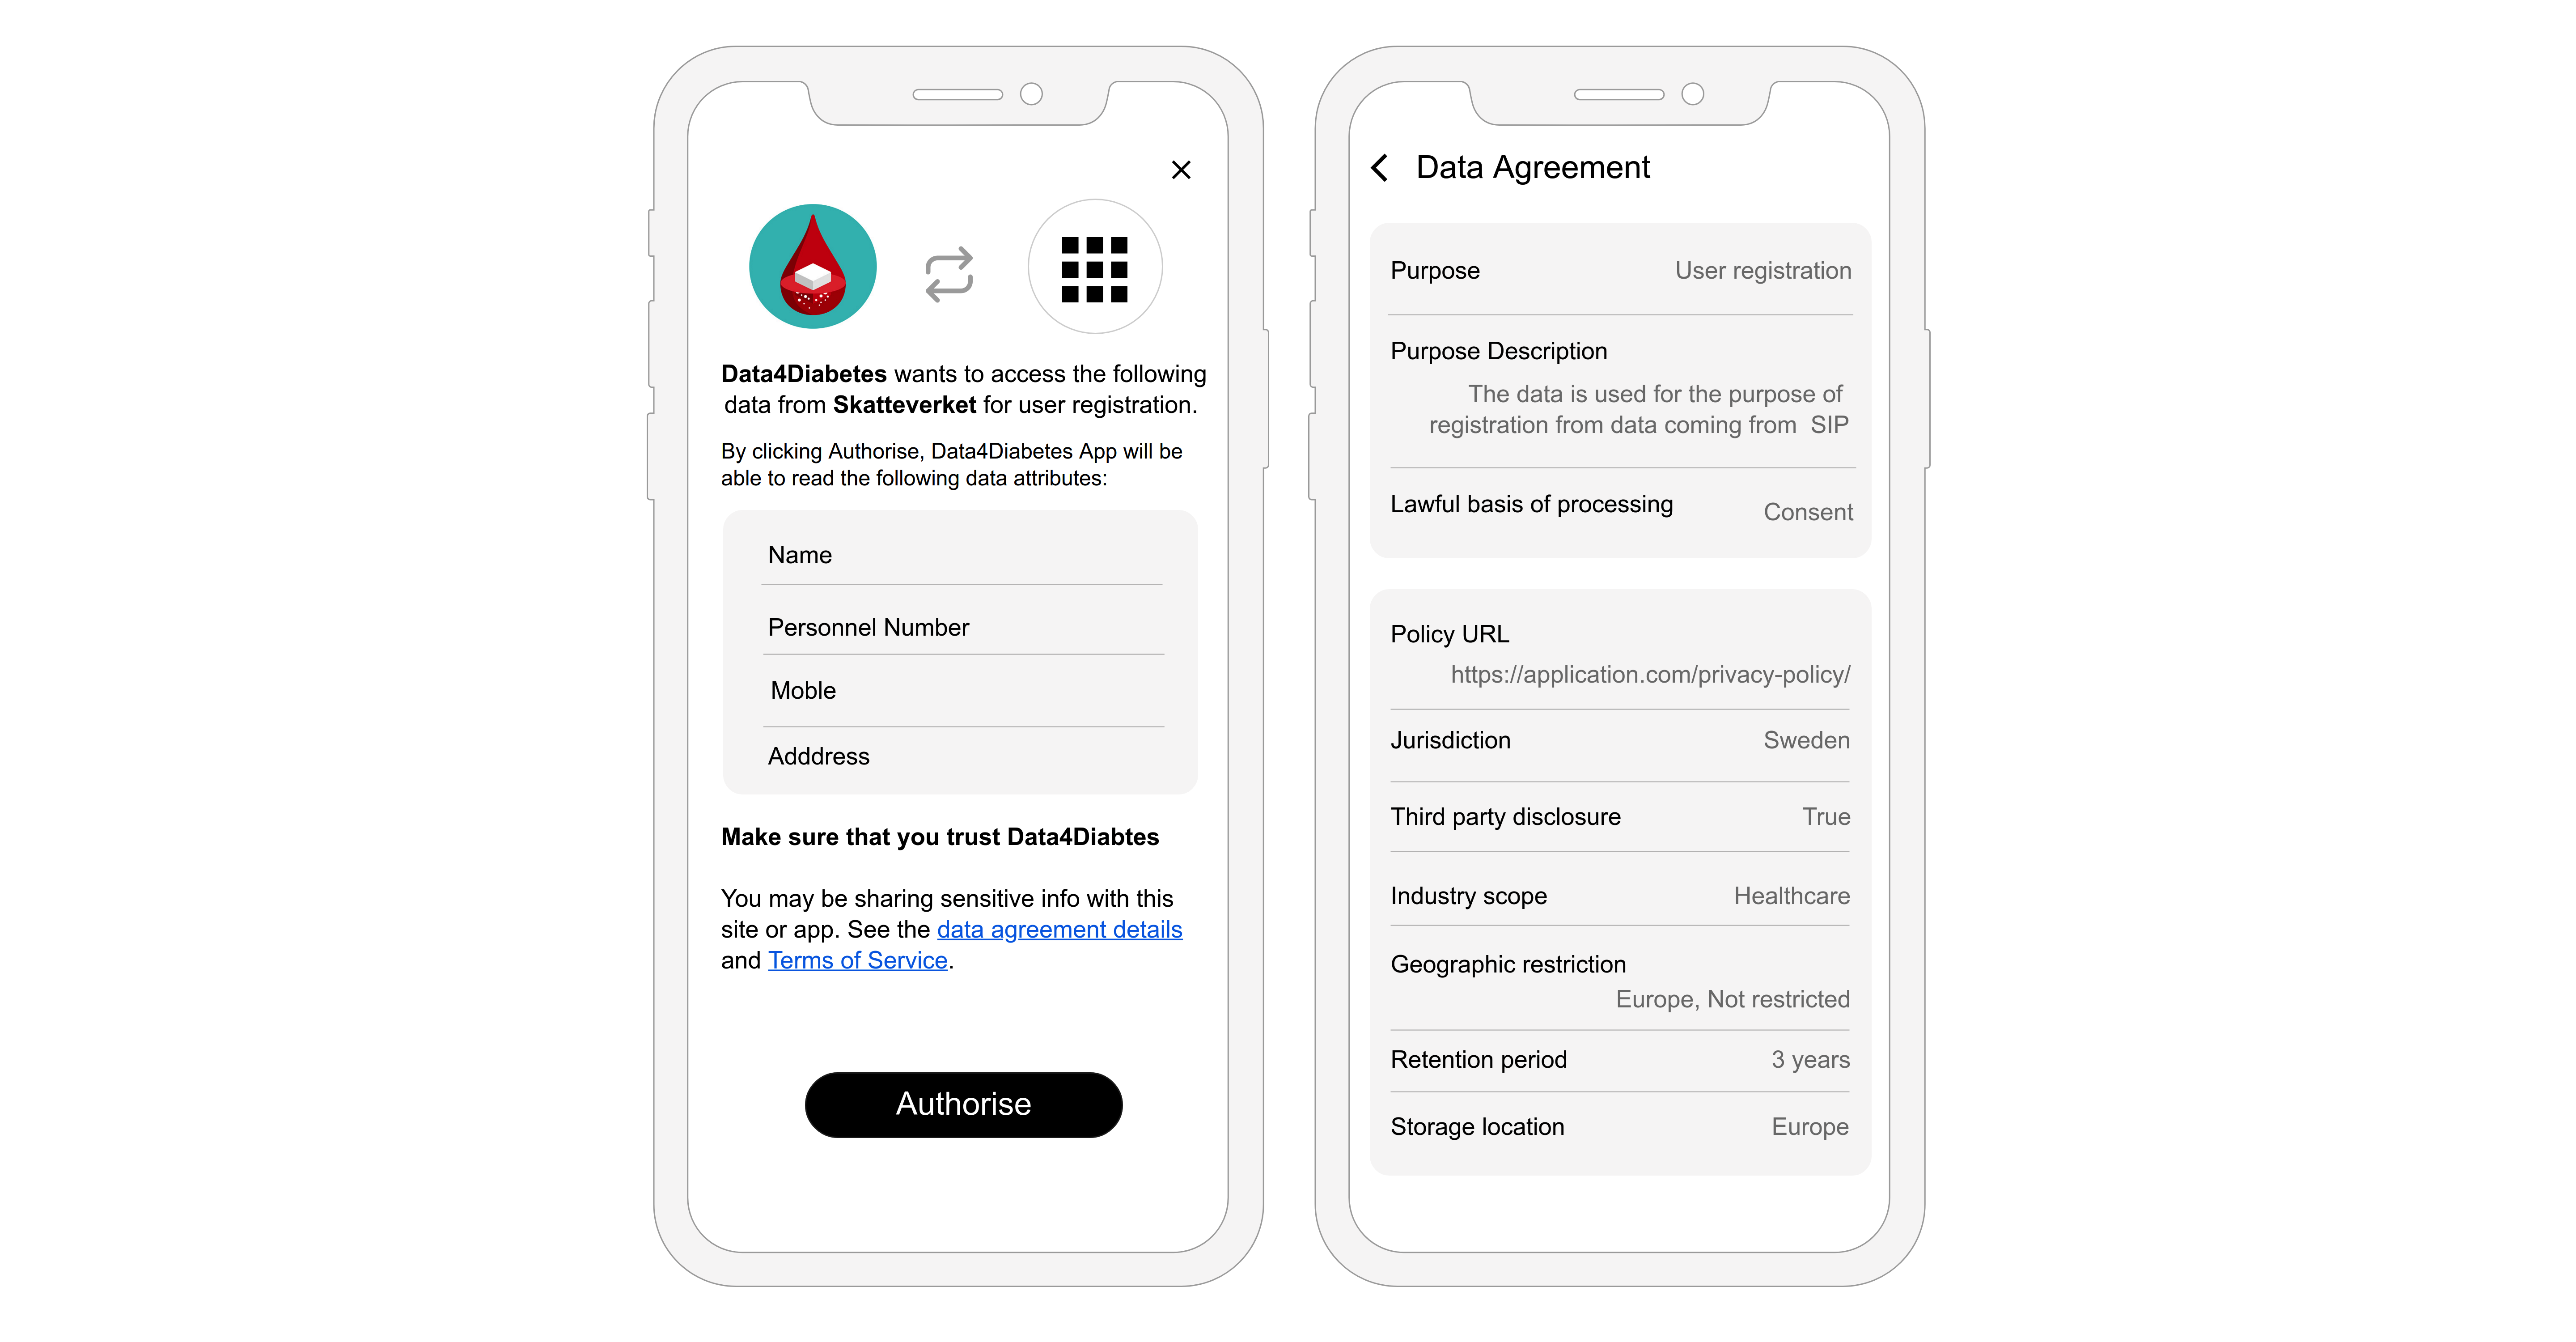
When an organisation asks to access your data for the first time, MyHealthEnabler shows you the full details before anything is shared. You can review:
What specific information will be collected or shared
Why it is being used
How long it will be stored
Which organisation is responsible for looking after it
Where the data will be kept
You can choose to Authorise or Cancel the request. If you authorise, your permission is recorded and the data sharing begins. You can change your mind at any time by going back to the Privacy Dashboard and switching the agreement to Disallow.
Consent Module: review data agreement details before authorising data sharing
Your Digital Identity Wallet
MyHealthEnabler includes a built-in digital identity wallet that keeps your personal credentials safe on your device. The wallet allows you to:
Receive official documents from trusted organisations, such as proof of identity or health-related certificates
Share only what is needed when a service asks to verify your identity, without revealing unnecessary personal details
Stay connected with healthcare providers and other organisations you interact with
Respond to requests through notifications when an organisation needs to check your identity
Back up and restore your wallet data securely
Your identity wallet ensures that your personal information stays under your control and is shared only when you choose to share it.
How Your Data is Shared
When you use MyHealthEnabler, your data is only ever shared in a way that you can see and control:
Your health data (for example, from glucose monitors or other devices) is collected by the app
Before any data is shared with an organisation, the app asks for your clear permission
Once you give permission, data is shared securely with the organisations you have approved
You can check all your active agreements and their status through the Privacy Dashboard at any time
Every action is recorded, so there is always a clear trail of what was shared and when
Need Help with Your Data?
The Privacy Dashboard includes contact details for the Data Protection Officer (DPO) of each organisation. If you have any questions about how your data is being looked after, used, or shared, you can get in touch with the DPO directly using the contact information in the app.